Using Quarter Inch · Appliqué
Print appliqué templates and placement guides
Templates drawn for the way you appliqué, reversed only where it matters, and a placement sheet measured from the creases.
The short answer
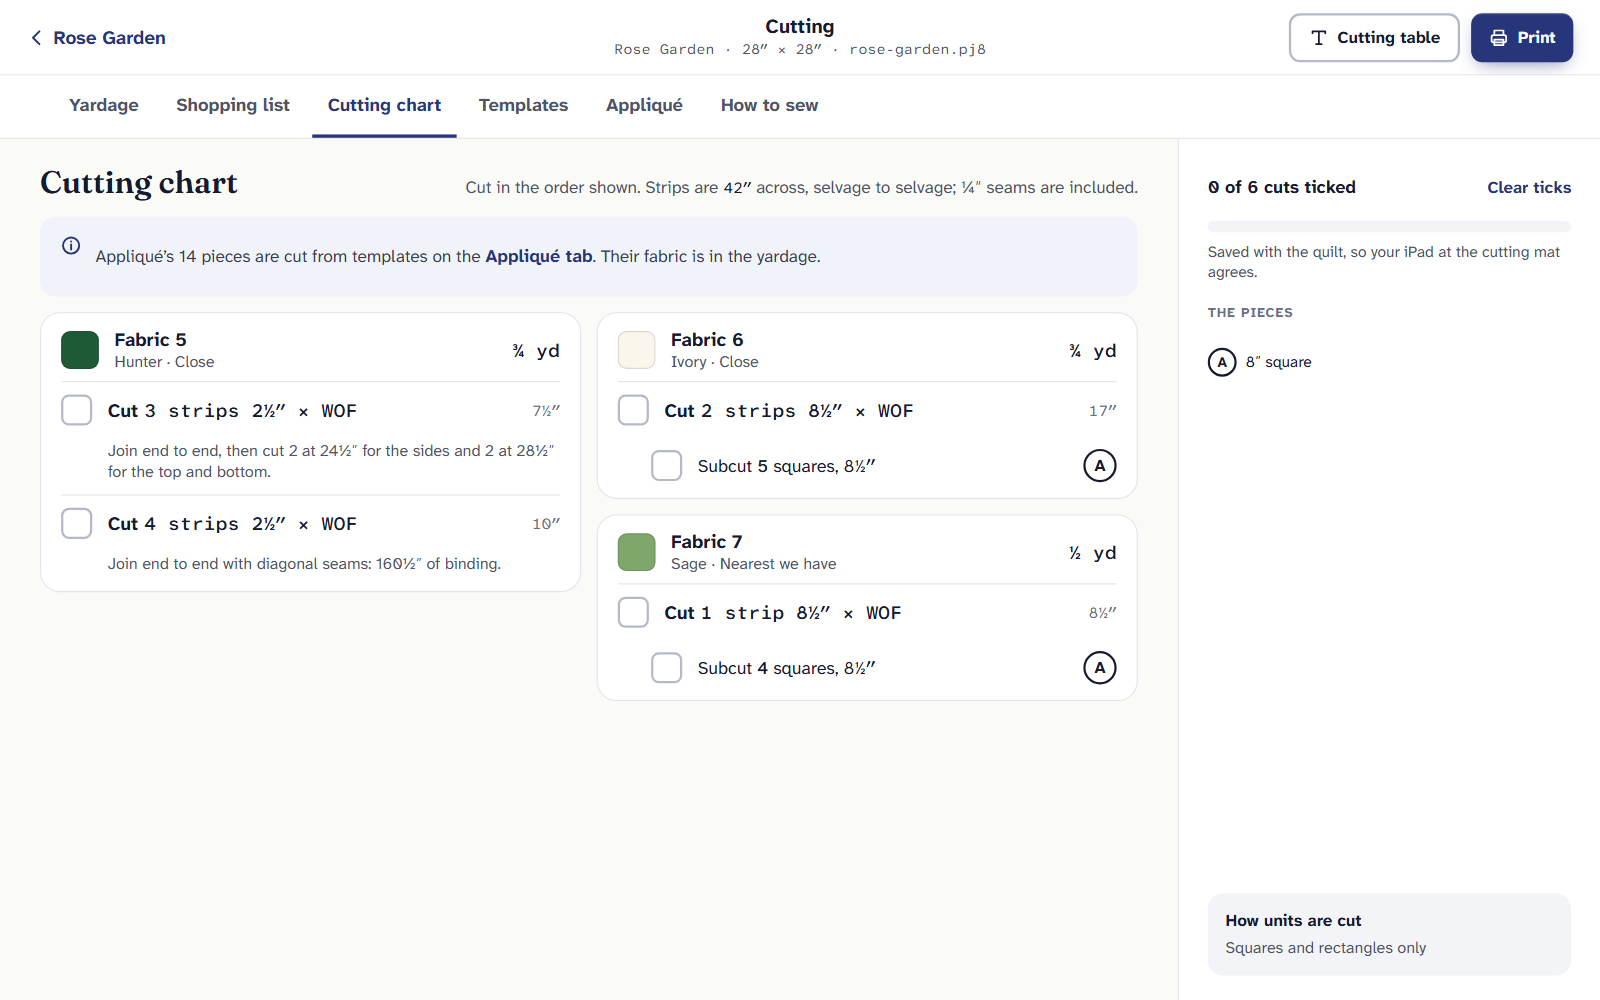
Print appliqué templates drawn for the way you appliqué, with a placement sheet to put each piece where it goes. On the quilt’s Cutting page, open Appliqué and choose How you appliqué: Fusible, turned edge on the back, or needle-turn on the front. Then choose Print and tick Appliqué templates and Placement sheet.
Every appliqué piece gets a template at true size, drawn the way your method needs it, and a placement sheet says where each one goes, measured from the creases. Both print in the same PDF as the rest of the quilt.
Tell it how you appliqué
Open the quilt’s Cutting page and choose the Appliqué tab.
Under How you appliqué, choose one. Which side you trace on decides everything about a template:
- Fusible: You trace on fusible web and iron it to the back. No turn-under. Templates print reversed, so the shapes come out the right way around.
- Turned edge, prepared on the back: Freezer paper, starch or glue on the back, the edge turned over it. Templates print reversed, with a turn-under.
- Needle-turn, marked on the front: You mark on the front and turn the edge with your needle. Templates print as they sit on the quilt, with a turn-under.
Asked once per quilt. The next quilt starts with your last answer. For turned edge and needle-turn, choose the Turn-under: 3/16″ or ¼″.
You can change the method any time. Nothing else about the quilt changes.
Reading the templates
- One template per shape, size and fabric, lettered after the pieced templates, with how many to cut. Tick each off as you cut.
- The finished line is solid. With a turn-under, the cutting line is dashed outside it.
- Reversed only where it matters. A shape that looks the same both ways around isn’t flagged. One that changes, a bird facing left and right, is drawn once for each way, and said: “2 each way”.
- Dotted edges tuck under another piece. Pieces go down in number order.
- Stems and vines are bias strips, with their width and length. Turned edge cuts them twice the finished width, for a bias tape maker.
For fusible, the tab also says how much Fusible web to buy. Every appliqué fabric is in the quilt’s Yardage.
Where each piece goes
Where each piece goes draws each place once (a square, a border side, a corner) with its pieces numbered in sewing order, each measured from the creases: a square’s center lines, a seam, or a border’s middle. Fold and press the background to find them.
Under Print where each piece goes, The placement sheet fits on one page. Full-size guides too adds each place at true size, tiled with ½″ overlaps, to trace on a light box.
Print them
On the Cutting page, choose Print.
Tick Appliqué templates, and Placement sheet or Full-size placement guides if you want them, with any other parts.
Make the PDF, and measure the 1″ test square on page 1 before you cut.
The rest is in Print your quilt, and printing at actual size explains the test square.
On an iPad or a phone
On the Free plan the Appliqué tab shows your quilt’s first real template at half size, and its Yardage, with appliqué fabrics and fusible web, is free. Quilter shows every template and the bias strips, prints them at true size, and adds the placement sheet: $9 a month or $89 a year. Designing your 3 quilts and their appliqué stays free.
If it doesn’t look right
- The shapes came out backwards. The method was wrong for how you traced. Fusible and turned edge print reversed; needle-turn doesn’t.
- A template measures small. The print was scaled. Check the 1″ test square: see The test square.
- A tiny part has no template. It’s marked to embroider instead, and the placement sheet shows where to stitch it.
Checked against the app on
Questions
Short answers.
Something else? A real person replies.
hello@quarterinch.app
Do I need reversed templates for fusible appliqué?
Yes. You trace on the back, so fusible and turned edge templates print reversed. Needle-turn templates print as they sit on the quilt.
How much turn-under allowance?
3/16″ to start, or ¼″. The template’s finished line is solid and the cutting line dashed outside it.
What is the placement sheet?
One page that draws each place once, its pieces numbered in sewing order, each measured from the creases.
Are appliqué templates free?
The first template shows on the Free plan. All of them, the placement sheet and printing need Quilter.